The turkey is rested. The kitchen smells incredible. Everybody is circling the cutting board. This is the moment when knowing how to carve roast turkey turns a great cook into the guy who brings the whole meal home. No hacked-up breast meat. No shredded skin. No cold bird sitting around while you fight a drumstick.
Carving is not about showing off knife tricks. It is about working with the bird’s natural joints and grain so every serving is clean, juicy, and worthy of the work that went into roasting it. Get your station ready, use a sharp blade, and take the turkey apart in a smart order. You have got this.
Before You Carve Roast Turkey, Let It Rest
Do not pull a beautiful turkey from the oven and immediately start cutting. Rest it first. A whole roast turkey needs at least 30 minutes, and 45 minutes is even better for a larger bird. That pause lets the juices settle back into the meat instead of running all over the board.
If you are worried about it getting cold, do not wrap it tightly in foil. That traps steam and softens the skin you worked hard to crisp. Instead, loosely tent the bird with foil and leave it in a warm, draft-free spot. Turkey holds heat remarkably well, especially when it is whole.
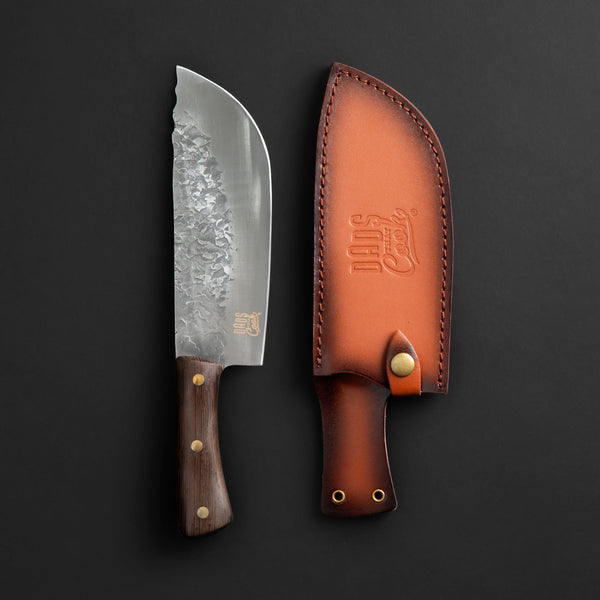
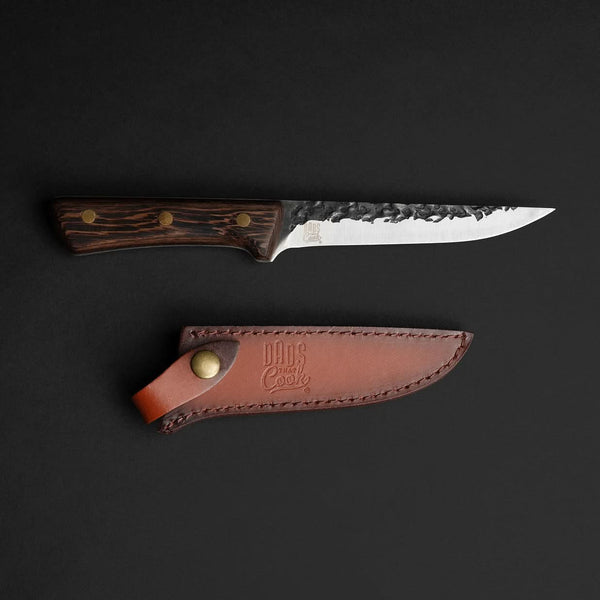
Use the resting window to finish gravy, warm side dishes, clear your carving area, and give your knife a quick check. A dull knife tears skin and crushes the meat. A sharp chef knife makes long, controlled cuts through the breast, while a boning knife earns its keep around joints and bones. The goal is precision, not brute force.
Set Up a Carving Station That Can Take the Heat
Put the turkey on a stable, large cutting board with the cavity facing you and the legs pointing outward. A board with a juice groove helps, but any solid board will work if you place a clean kitchen towel beneath it to prevent sliding.
Keep a warm serving platter close by. You want to move carved meat onto the platter as you go, rather than piling it on the board where it cools down and sits in juices. Have tongs or a serving fork nearby, plus a small bowl for bones and scraps if you are making stock later.
One more move from a seasoned dad chef: keep the turkey’s roasting juices. They can go into gravy, over sliced breast meat, or into the platter just before it hits the table. That is flavor you already earned.
How to Carve Roast Turkey in the Right Order
The cleanest approach is simple: remove the legs and thighs first, then the wings, then take the breast meat off the bone before slicing it. Trying to slice a whole turkey while everything is still attached is where most carving jobs go sideways.
Start With the Legs and Thighs
Pull one drumstick away from the body. With the tip of your knife, slice through the skin connecting the leg to the breast. Keep pulling the leg outward as you cut. Soon, the hip joint will reveal itself.
Do not saw through the joint. Find the soft spot between the bones, then cut straight through it. The whole leg-quarter should come away cleanly. Repeat on the other side.
To separate drumstick from thigh, place the leg-quarter skin-side down and feel for the joint where the two pieces meet. Slice through that joint. Set the drumsticks aside whole if your crowd loves a classic hand-held serving. For smaller portions, pull the thigh meat away from its bone and slice it into generous pieces.
Dark meat is rich, forgiving, and usually the first thing experienced turkey eaters reach for. Do not bury it under a mountain of breast slices. Give it its own space on the platter.
Remove the Wings Without Mangling Them
Pull each wing away from the body and cut through the joint at the shoulder. Again, let the joint guide you. If your knife meets hard resistance, you are hitting bone, not the opening. Adjust your angle instead of forcing it.
Wings are great for the people who like crisp skin and a little extra flavor, but they can also go straight into the stock pile if your table is more focused on breast and thigh meat. There is no wrong call here. It depends on how many people you are feeding and how much serving space you have.
Take the Breast Meat Off in Two Clean Halves
Now for the centerpiece. Locate the breastbone running down the middle of the turkey. Make one long cut along one side of it, starting near the neck end and working down toward the cavity. Let the blade ride tight against the breastbone.
As you cut, gently pull the breast meat away from the bone with your free hand. Continue following the rib cage in smooth strokes until the entire breast lobe releases. Lift it off in one piece and place it skin-side up on your cutting board. Repeat on the other side.
This is the move that separates clean carving from cafeteria-style turkey. Removing the breast in whole lobes means you can slice across the grain evenly, preserve more juices, and keep that golden skin attached to every slice.
Slice Across the Grain, Not With It
Look at the breast meat. The muscle fibers run lengthwise. Slice across those fibers into slices about a quarter-inch to half-inch thick. Thinner slices work well for sandwiches and big holiday spreads. Slightly thicker slices feel more substantial on a dinner plate and stay warmer longer.
Use long, confident strokes. Do not press down and saw back and forth. Let a sharp blade do the work. If skin starts pulling away, hold the top of the breast gently with your fingertips or a carving fork and make sure your knife is sharp enough to cut through in one pass.
Arrange the slices slightly overlapping on a warm platter, with the crisp skin facing up. Add the dark meat and drumsticks around the edge. A few spoonfuls of warm pan juices over the sliced breast will keep everything glossy and ready for the table.
The Mistakes That Turn Good Turkey Into a Mess
The biggest carving mistake is rushing. Resting time is part of cooking time, not dead time. Cut too soon and the juices run out. Cut too late without keeping the bird warm and you may be serving lukewarm meat.
The next problem is using the wrong tool. A serrated bread knife can shred rather than slice. A giant cleaver is excellent for certain jobs, but it is not the best choice for delicate breast meat and joints. Use a sharp, balanced chef knife for the main cuts and a flexible boning knife when you need to work close to bone.
Finally, do not chase every last shred of meat while your guests wait. Carve the prime portions first. Get the platter to the table. Then return to the carcass after dinner for sandwich meat, soup, tacos, or stock. A turkey that feeds the family twice is a win.
Put the Carcass to Work
Once the meal is underway, break the remaining carcass into pieces that fit a stockpot or storage container. Save the back, wing tips, bones, and any roasted bits of meat. Even if you do not make stock immediately, freeze them.
The next day, simmer the bones with onion, celery, carrot, bay leaf, and water for a deep turkey stock. It is the foundation for soup, pot pie, gravy, and a serious post-holiday meal. That is how you respect the whole bird.
A properly carved turkey does more than make the platter look good. It gives every person at the table the cut they want, keeps the breast meat juicy, and proves that the cook behind the meal came prepared. Sharpen the blade, trust the joints, and put those clean slices on the table with pride. The family feast is yours to serve.