The first time you lift a smoker lid and see a pork shoulder wearing a dark, smoky bark, you will understand the obsession. This beginner guide to meat smoking is built for dads who want more than grilled food with a little smoke flavor. You are building a steady fire, cooking with patience, and serving a meal your crew talks about on Monday.
Smoking meat is not complicated, but it does reward control. Start with a reliable temperature, one forgiving cut, and a sharp plan. Do that, and you can make backyard barbecue that feels like a victory lap.
What Meat Smoking Actually Does
Smoking cooks meat indirectly at low temperatures while wood provides flavor. Unlike grilling, where food sits directly over a hot flame, smoking uses circulating heat and clean smoke to slowly break down connective tissue. Tough cuts become tender. Fat renders. The outside develops bark - that deeply seasoned, mahogany-colored crust worth fighting over.
The sweet spot for most beginner cooks is 225 to 275 degrees F. Lower temperatures can produce more smoke exposure and a gentler cook, but they also take longer. Running closer to 275 degrees F is often easier to manage and can still produce outstanding barbecue. The right temperature depends on your smoker, the cut, and how much time you have before dinner.
The goal is not to flood the meat with smoke. Thick white smoke can make food bitter. You want a clean, light stream that smells pleasant and woody, not harsh. If your eyes burn when you stand near the smoker, your fire likely needs more airflow or cleaner fuel.
Start With a Forgiving Cut
Do not make brisket your first battlefield. Brisket is legendary for a reason, but it asks a lot from your fire management, trimming, timing, and slicing. Earn that cook after you have a few wins under your belt.
Pork shoulder, often sold as Boston butt, is the best starting point. It is affordable, heavily marbled, difficult to dry out, and forgiving when the cook runs long. A 7- to 9-pound shoulder gives you plenty of meat for a family gathering and leftovers for tacos, sandwiches, or breakfast hash.
Chicken thighs are another strong first move. They cook much faster than pork shoulder, take seasoning well, and let you practice holding a steady smoker temperature without committing an entire Saturday. For beef, try chuck roast. It has much of the rich character people love in brisket, with less expense and less pressure.
The Gear You Need Before the First Smoke
You do not need a trailer-mounted rig or a garage full of gadgets. A charcoal kettle, pellet smoker, offset smoker, or electric smoker can all turn out great food. Each demands a different level of attention.
A pellet smoker is the easiest route to stable heat. Set the temperature, keep pellets flowing, and focus on the meat. A charcoal kettle is affordable and capable, but you will need to learn indirect heat and fuel arrangement. An offset smoker delivers classic hands-on barbecue, yet it requires the most fire tending. That trade-off is part of the fun for some dads and a deal-breaker for others.
No matter what cooker you use, a few tools pull their weight every time:
- A digital instant-read thermometer for checking internal temperature quickly and accurately.
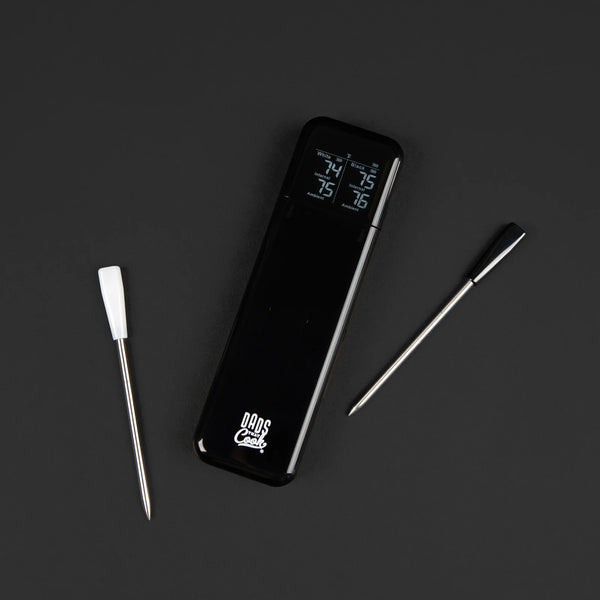
- A leave-in probe thermometer for tracking the cook without opening the lid every 20 minutes.
- Heat-resistant gloves for moving hot grates, pans, and wrapped meat with confidence.
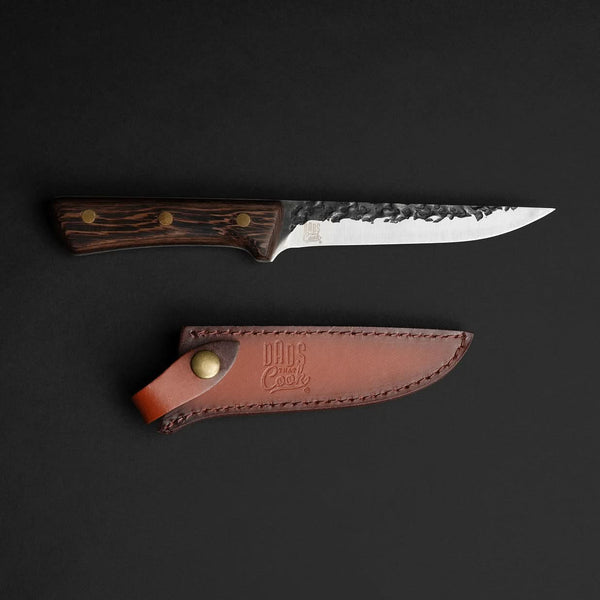
- A sharp knife and sturdy cutting board for trimming raw meat and slicing the finished product cleanly.
Set Up Your Smoker for Clean Heat
Before the meat goes on, get the cooker stable. For charcoal, build a two-zone setup: coals on one side, food on the other. Add a small chunk of smoking wood near the coals, not a mountain of chips that will smolder and turn nasty. For a pellet smoker, make sure the hopper is full and give the unit time to settle at temperature.
Water pans can help moderate heat in some smokers and catch drippings, but they are not mandatory. In a dry climate or a thin-walled smoker, they can be useful. In a pellet smoker or kettle holding steady heat, they may add little. Do not confuse extra gear with better barbecue.
Choose wood that matches the meat. Hickory and oak bring a stronger profile that stands up to beef and pork. Apple and cherry are milder, slightly sweet choices for pork and chicken. Mesquite is powerful and burns hot, so use it sparingly until you know its personality.
Season Like You Mean It
For a first pork shoulder, keep the rub simple: kosher salt, coarse black pepper, paprika, garlic powder, onion powder, and a little brown sugar if you like a sweeter bark. Apply enough to cover the surface without creating a thick paste. The meat should still look like meat.
You can season right before cooking or the night before. Overnight seasoning gives salt more time to work into the surface, but it is not required for a successful cook. If you are short on time, season it, fire up the smoker, and get after it.
Avoid constantly mopping or spritzing at the beginning. Every lid opening dumps heat and stretches the cook. Let the surface dry and bark develop first. After a few hours, a light spritz of water, apple cider vinegar, or diluted juice can add color and help prevent overly dry edges, but it is a tool, not a ritual.
A Beginner Guide to Meat Smoking: The Cook
Put the meat on the indirect side of the cooker with the thicker end facing the hotter area. Close the lid and resist the urge to check it every few minutes. Smoke needs time. So does bark.
For pork shoulder, cook until the internal temperature reaches roughly 160 to 170 degrees F and the outside has the dark color you want. At this point, the meat may hit a stall, where evaporation cools the surface and the internal temperature seems frozen. Nothing is broken. The stall can last for hours.
You have two good options. Leave it unwrapped and wait for the bark to deepen, or wrap it tightly in butcher paper or foil to speed the cook. Paper protects bark better. Foil moves faster and captures more juices, though the bark may soften. This is barbecue, not a purity test. Choose based on your schedule.
Continue until the shoulder is probe-tender, usually around 195 to 205 degrees F. Temperature gets you close, but feel makes the final call. A probe should slide into several spots with very little resistance, like pushing into softened butter.
Chicken is different. Smoke thighs at 275 degrees F or higher so the skin has a better chance of rendering and crisping. Cook dark meat to at least 175 degrees F for tenderness, even though it is safe at a lower temperature. Breast meat should reach 165 degrees F.
Resting Is Part of the Cook
Pulling meat off the smoker is not the finish line. Resting lets juices settle and carryover cooking ease off. Give chicken at least 10 to 15 minutes. Give a pork shoulder at least 30 minutes, and one to two hours is even better if it is wrapped and held warm.
When it is time to pull pork, remove big pockets of fat and shred the meat into bite-size pieces. Mix in some of the rendered juices, then taste before adding sauce. Great smoked meat should stand on its own. Sauce is a strong teammate, not a cover-up.
Keep the Fire Honest and the Food Safe
Use a separate board or thoroughly wash and sanitize anything that touched raw meat before it touches cooked food. Keep raw meat cold until cooking, wash your hands often, and use thermometers instead of guessing. Color, bone looseness, and timing can be clues, but internal temperature is the real authority.
If a cook finishes early, hold the wrapped meat in a dry cooler lined with towels or in an oven set low enough to keep it safely hot. If it finishes late, do not panic and crank the smoker into chaos. Raise the cooker temperature moderately, wrap if the bark is set, and keep cooking until tender.
Your first smoke may not be perfect. Maybe the bark is lighter than you wanted. Maybe dinner lands 45 minutes later than planned. That is not failure. That is reps. Build the fire, trust the thermometer, slice with purpose, and put something great on the table for the people waiting inside.